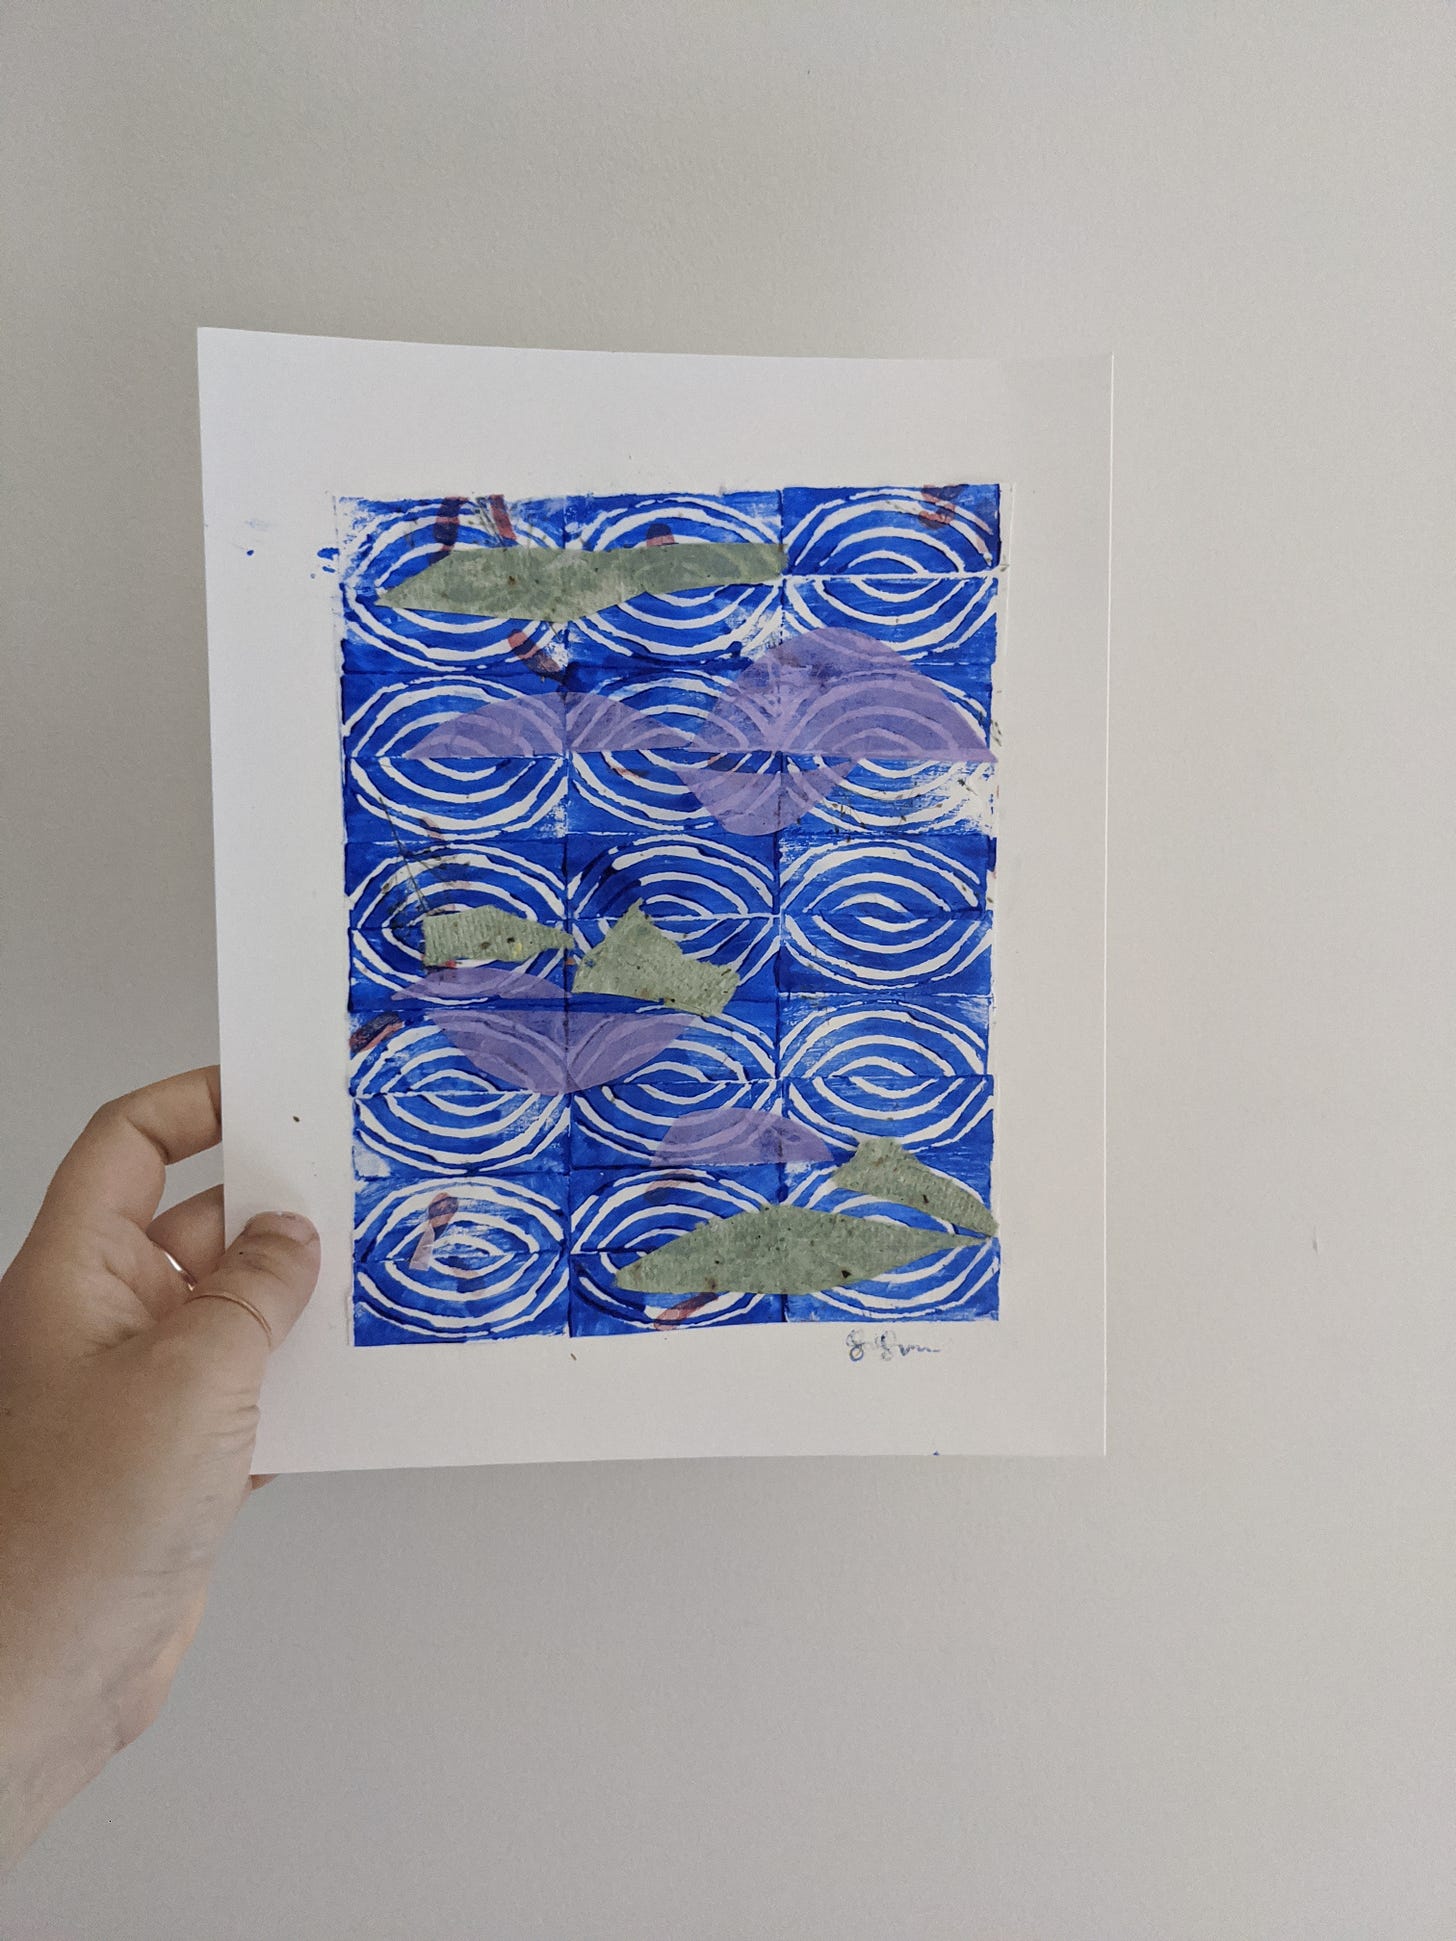
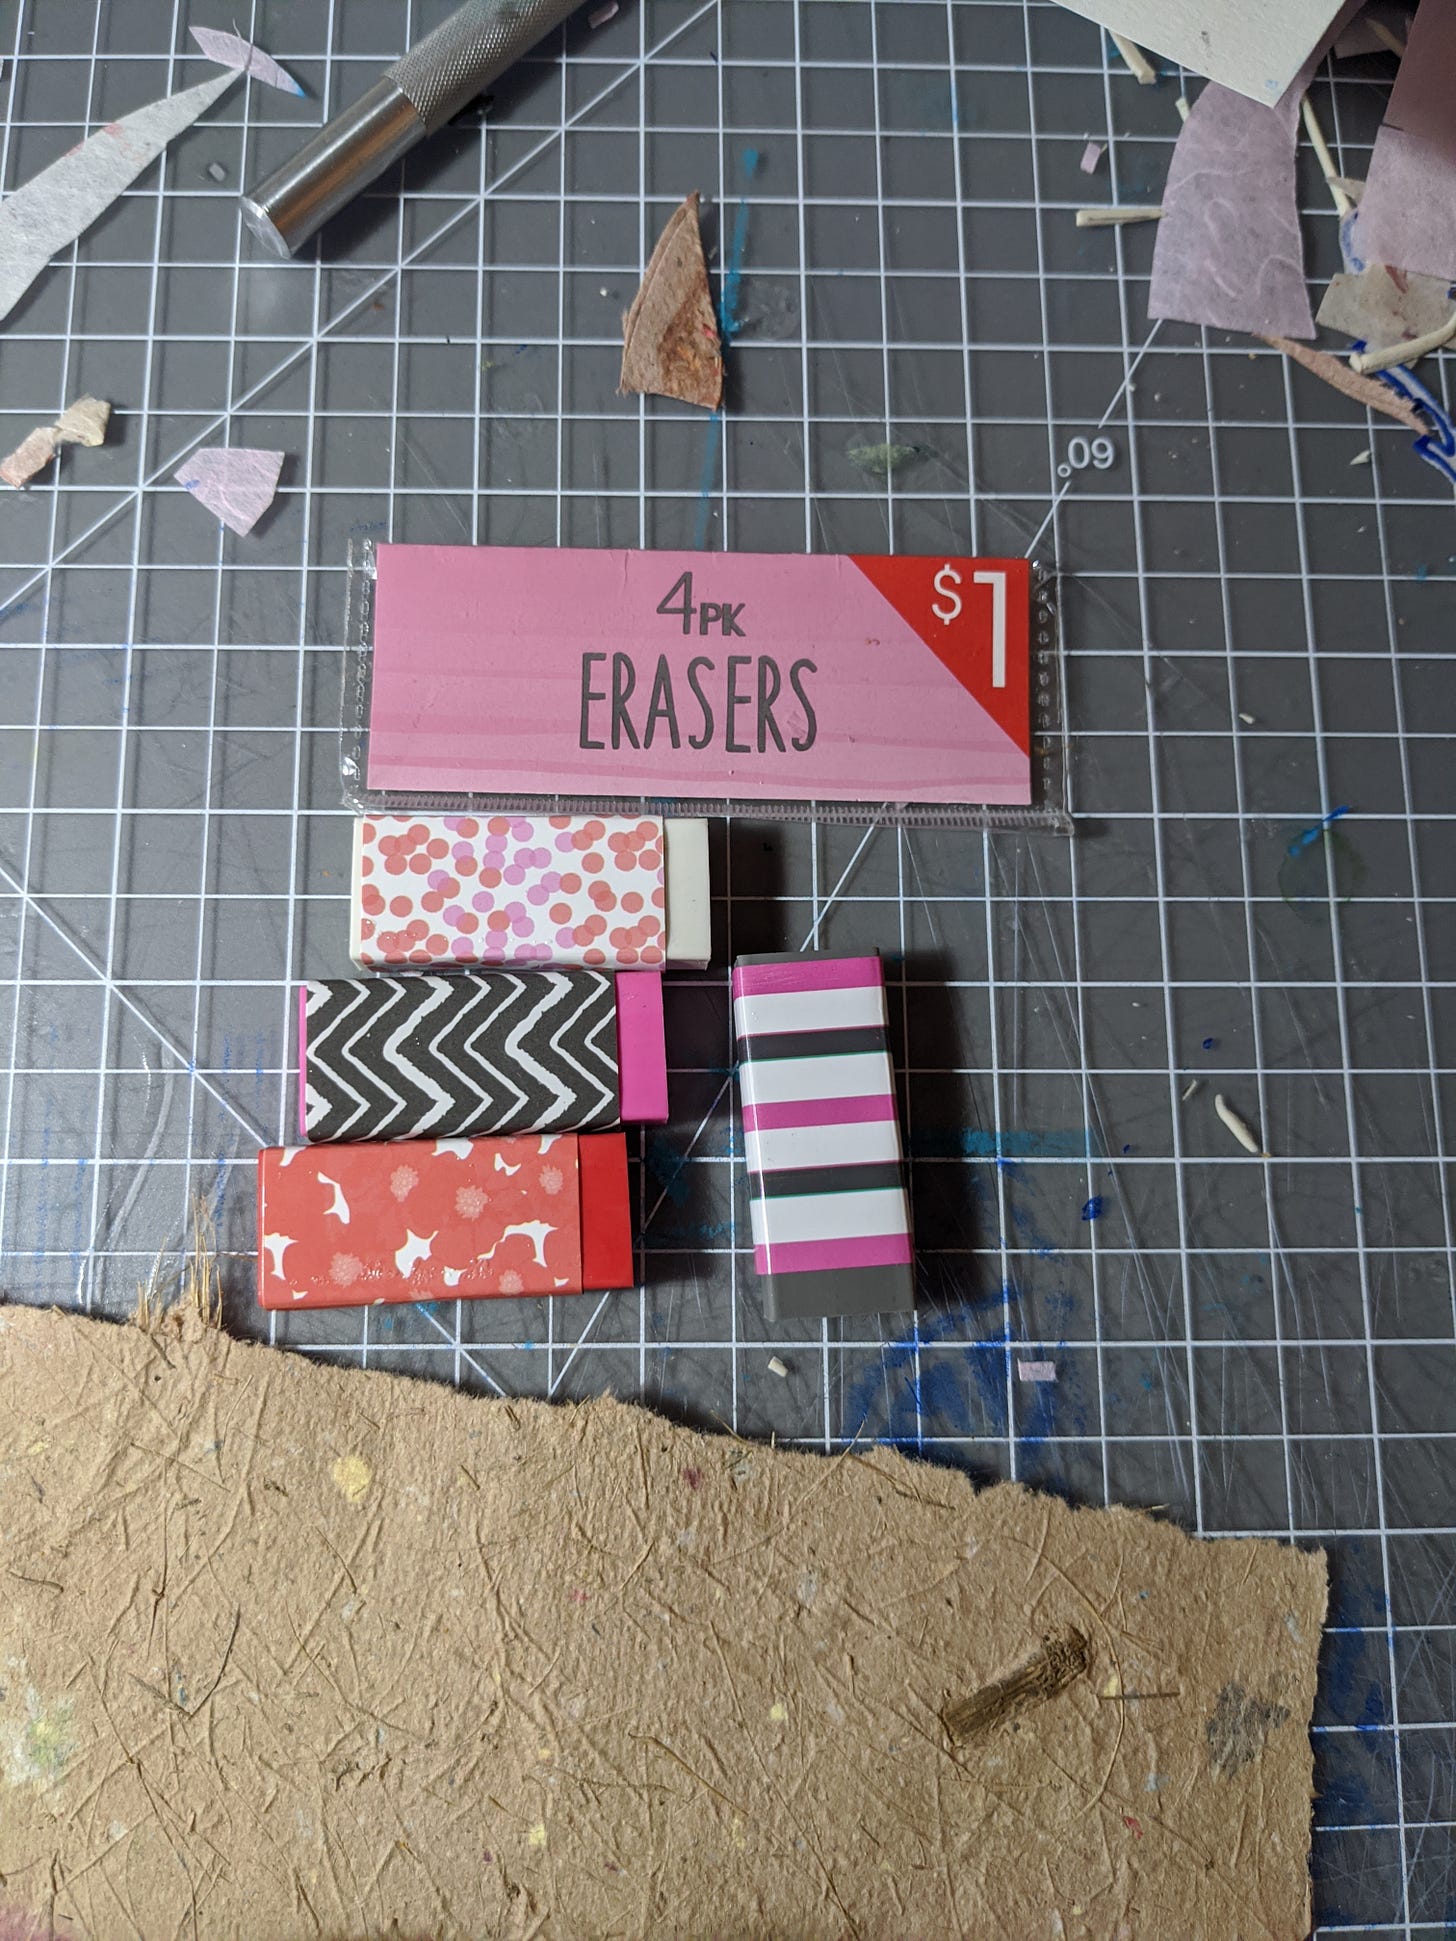
Eraser printing is a very cheap and effective introduction to relief printing (where you cut away and what remains is printed think, Japanese wood block prints.) What I like about eraser printing is it’s a great introduction to the materials you need for more block printing projects but it’s also accessible for a wide range of age groups. I even found these erasers on the street. Yes, in the age of COVID-19 I am still picking up things you leave out in boxes Brooklyn. But the materials are cheap even if you buy them.
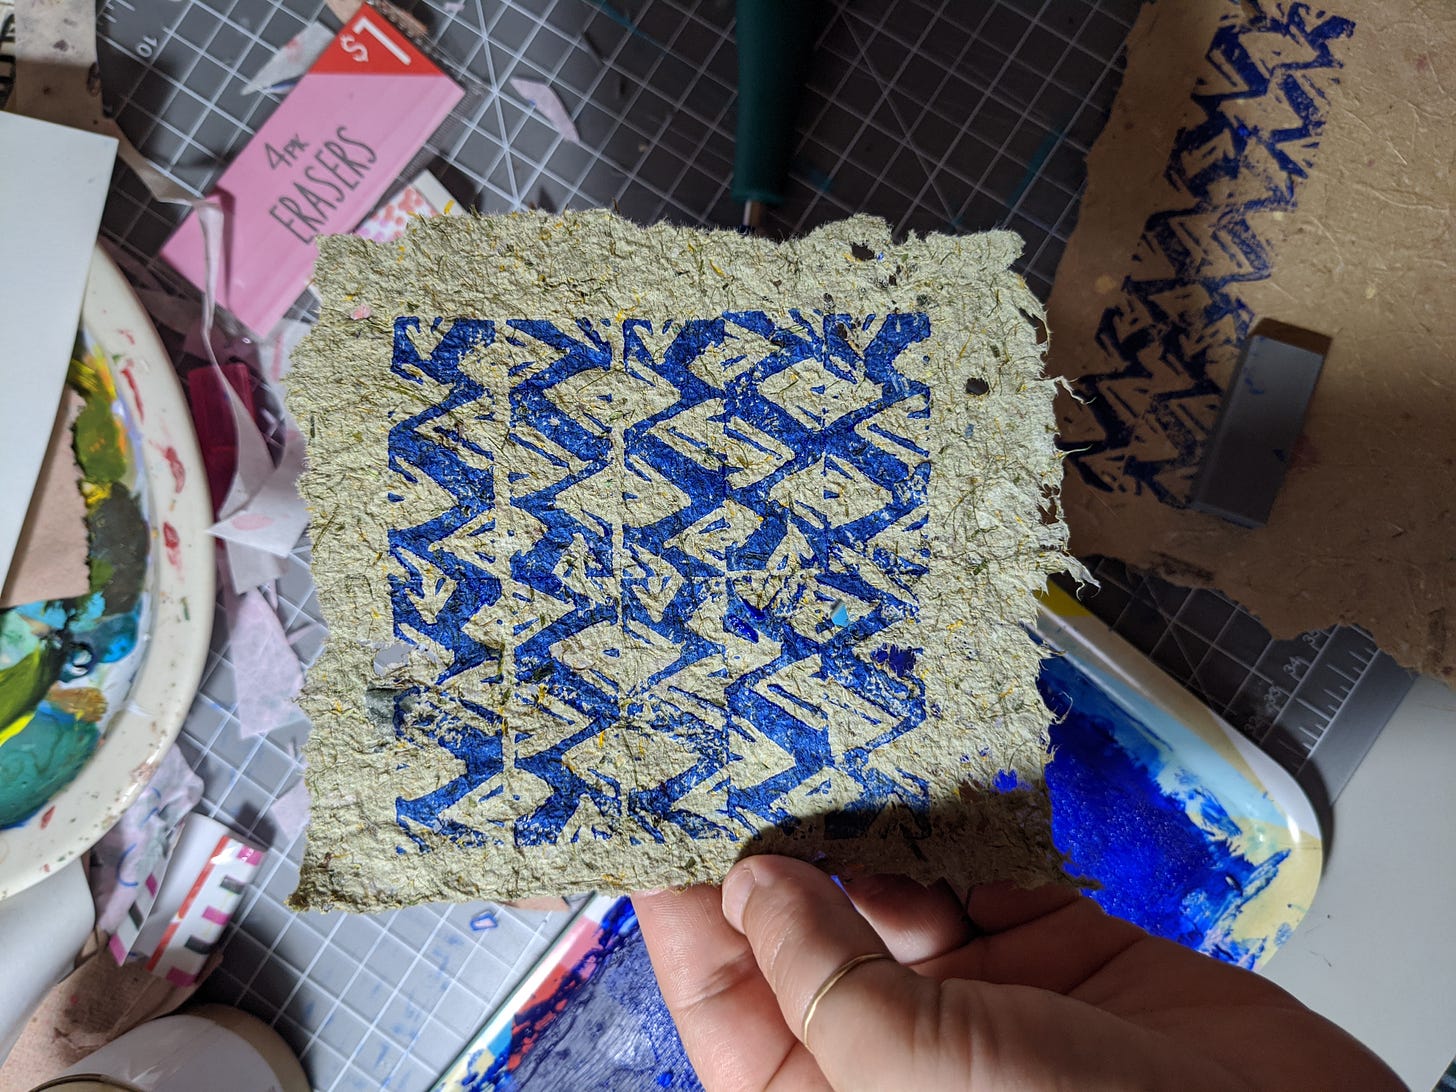
I use these abstract shapes and patterns I carved in a lot of art projects too, as I’ve become a stronger mixed media artist and printmaker these past months. I use them in small works on paper (above), large monotype art works, printed on rice and homemade papers, in collage work, and I even scan the finished patterns to create digital collage backgrounds. Printmaking with blocks is a great way to make original digital backgrounds because I love the look of homemade things in almost everything.
DIY Rubber Stamp Printing with Erasers
Supplies:
pink erasers (like the kind you used in school and can find basically in all stores that sell pencils!)
a stamp pad or any acrylic paint or block printing ink
a brayer (if using paint or ink)
wax paper or a plate or large piece of cardboard to roll out ink (if using paint or ink)
papers to print on. I’ve been using these homemade papers by Summit Block Prints and they’re fantastically textured.
paper towels to clean up any mistakes
Steps:
Draw directly onto your eraser with what kind of design you want, pattern or not. Or if you’re like me, just wing it and carve something! I kinda like free form organic work myself, but do what feels good to you. If you want to spend more time on your designs and be more precise, you can use transfer paper. There is an easy way to transfer just using pencils too.
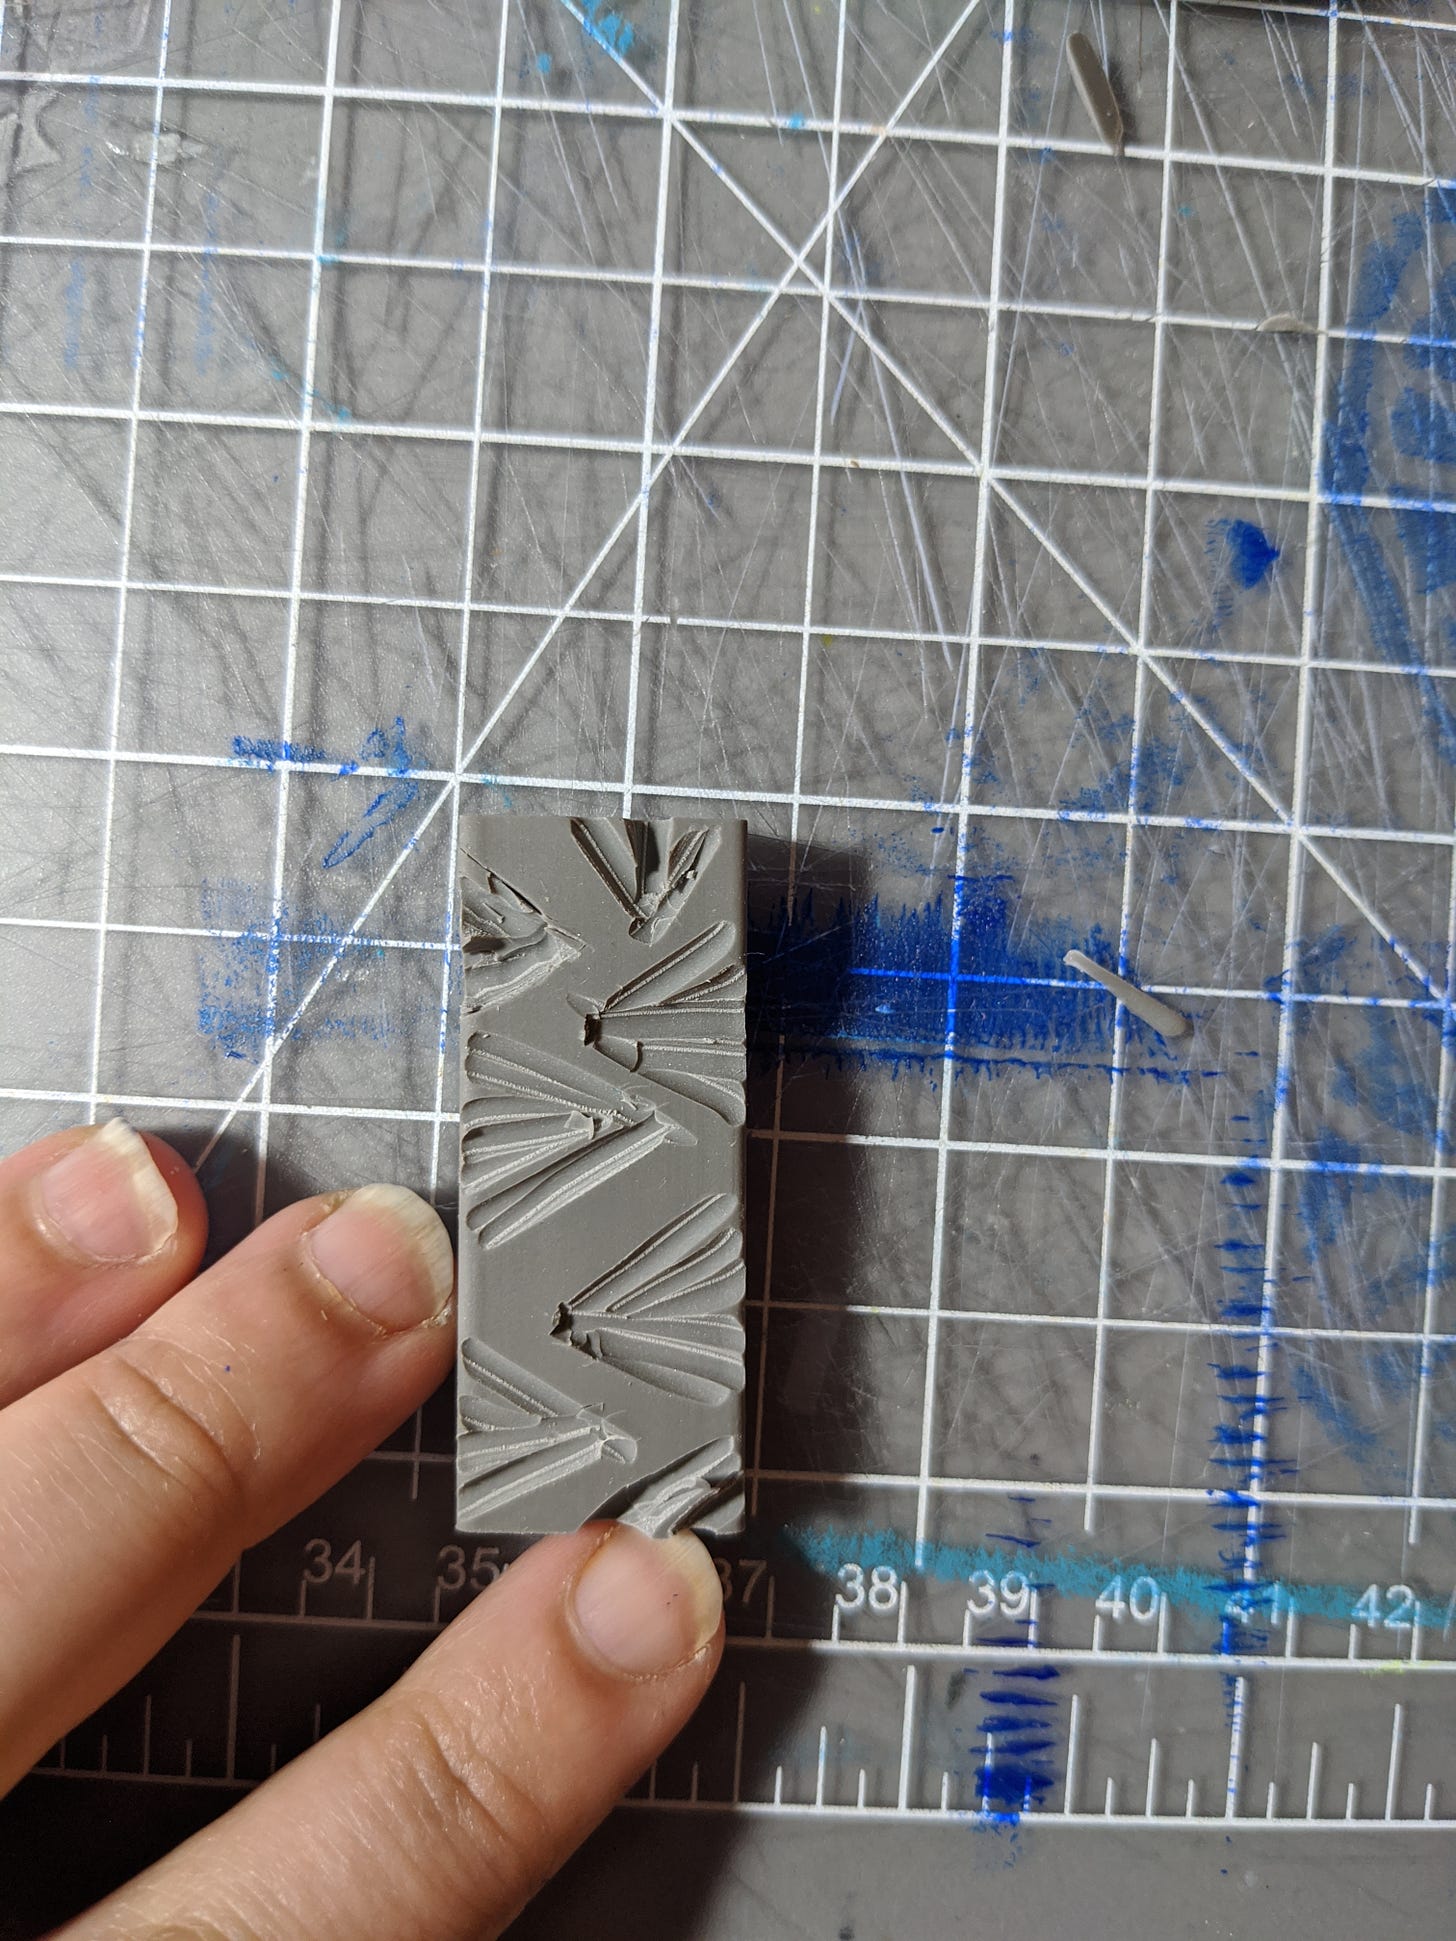
Using your linoleum cutter, cut away what you don’t want to print. So if you’ve created a zig-zig, make sure those zig zags are the parts remain. Like this:
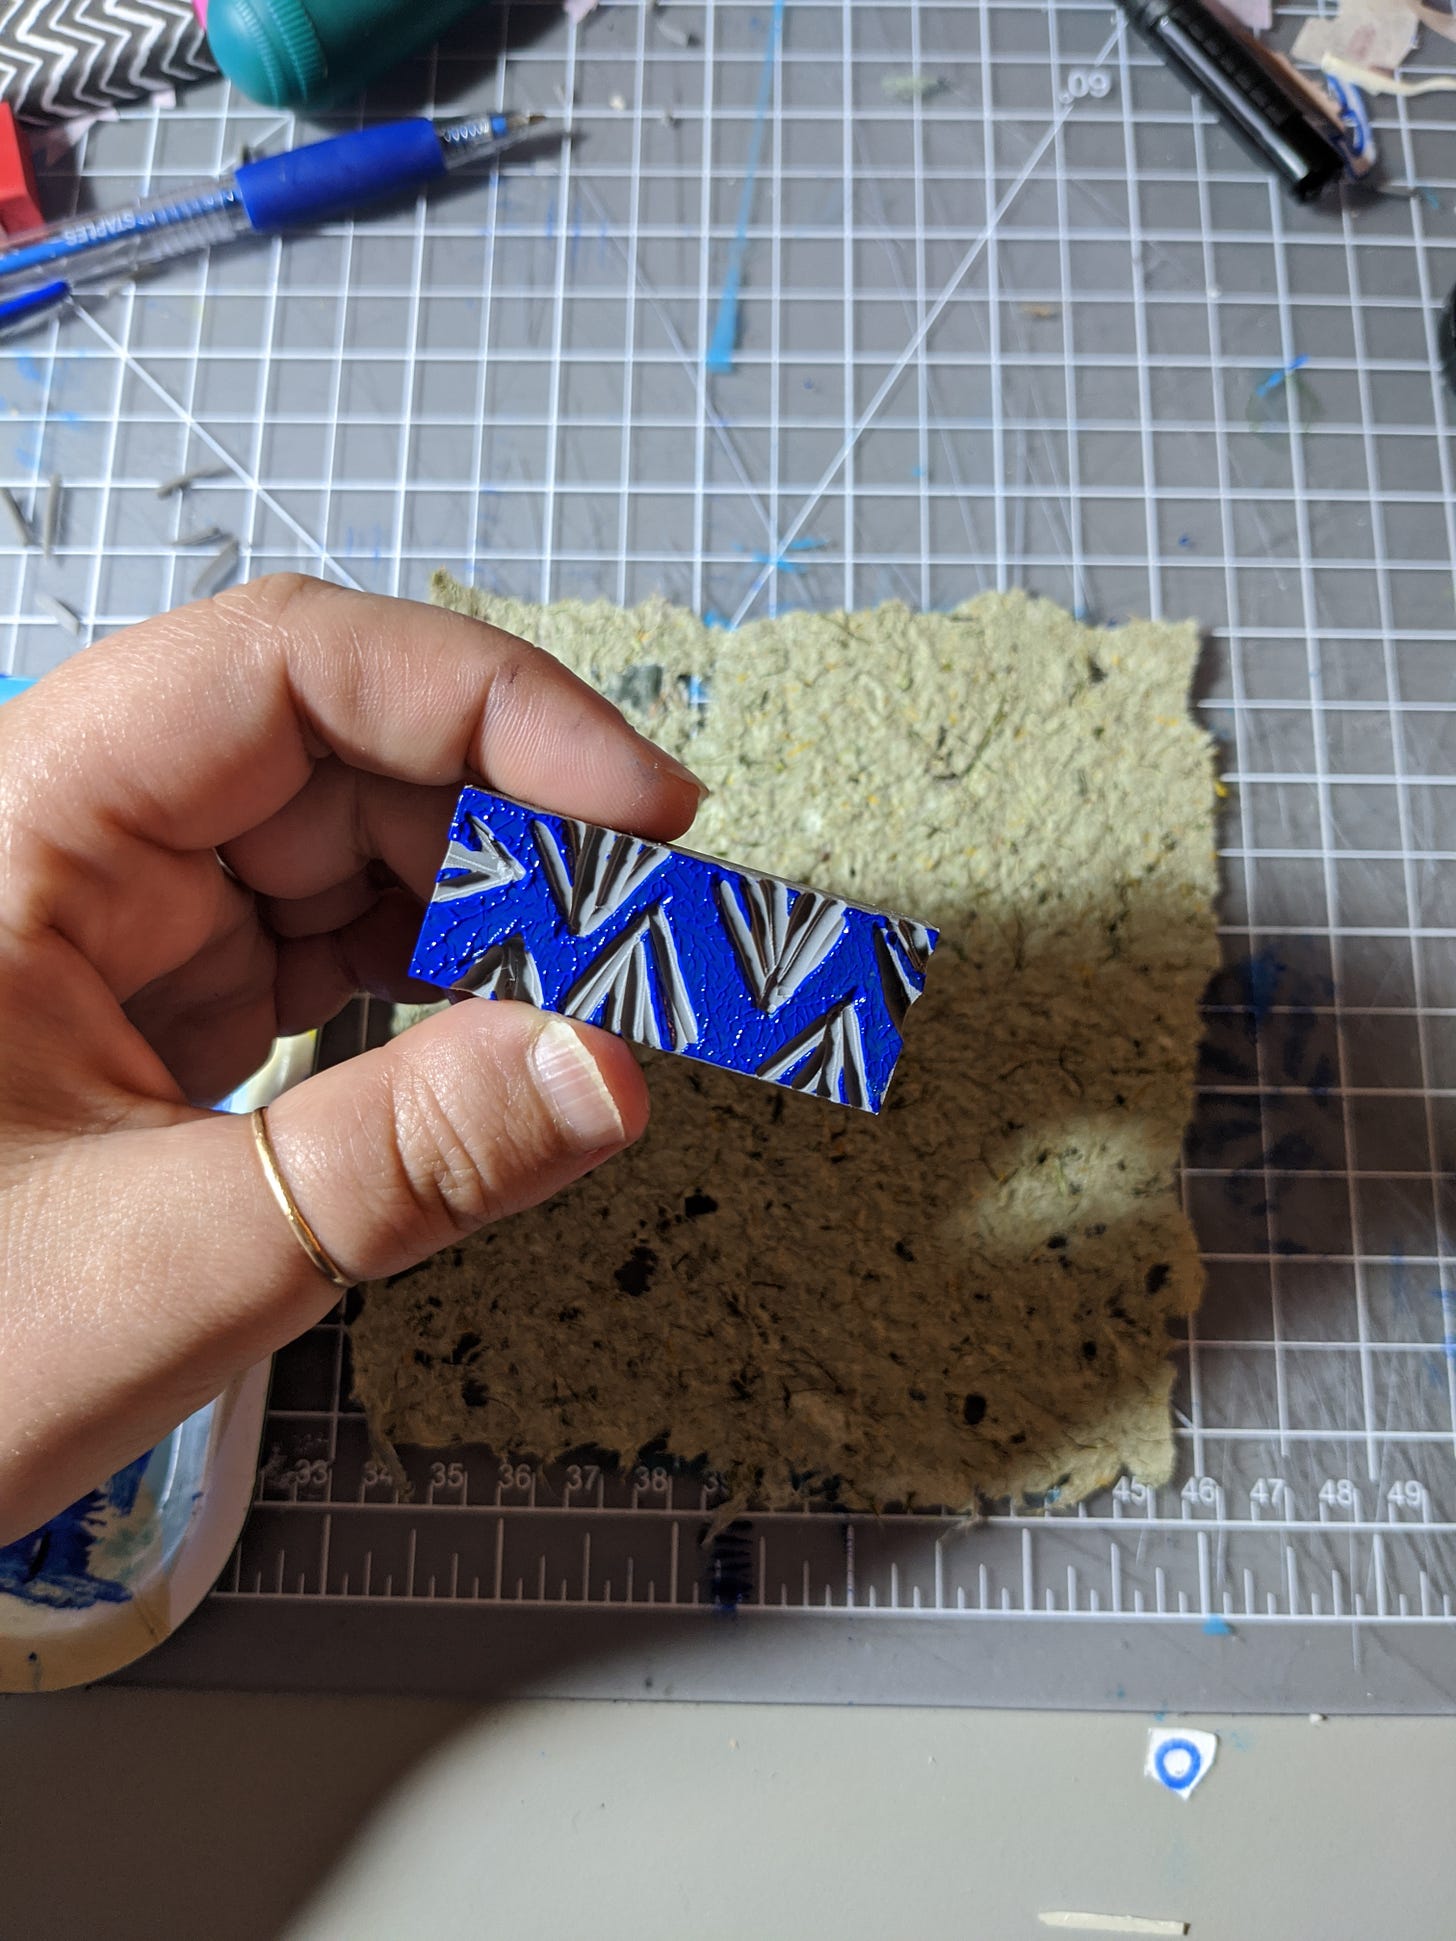
If you’re using a stamp pad, you can make tests of your design as your carve to see what it looks like. Roll out some paint or ink if you’re going that way and test too.
Print and ink and repeat! You can also line up your stamps to make a large pattern like I did if you’re making a pattern shape.
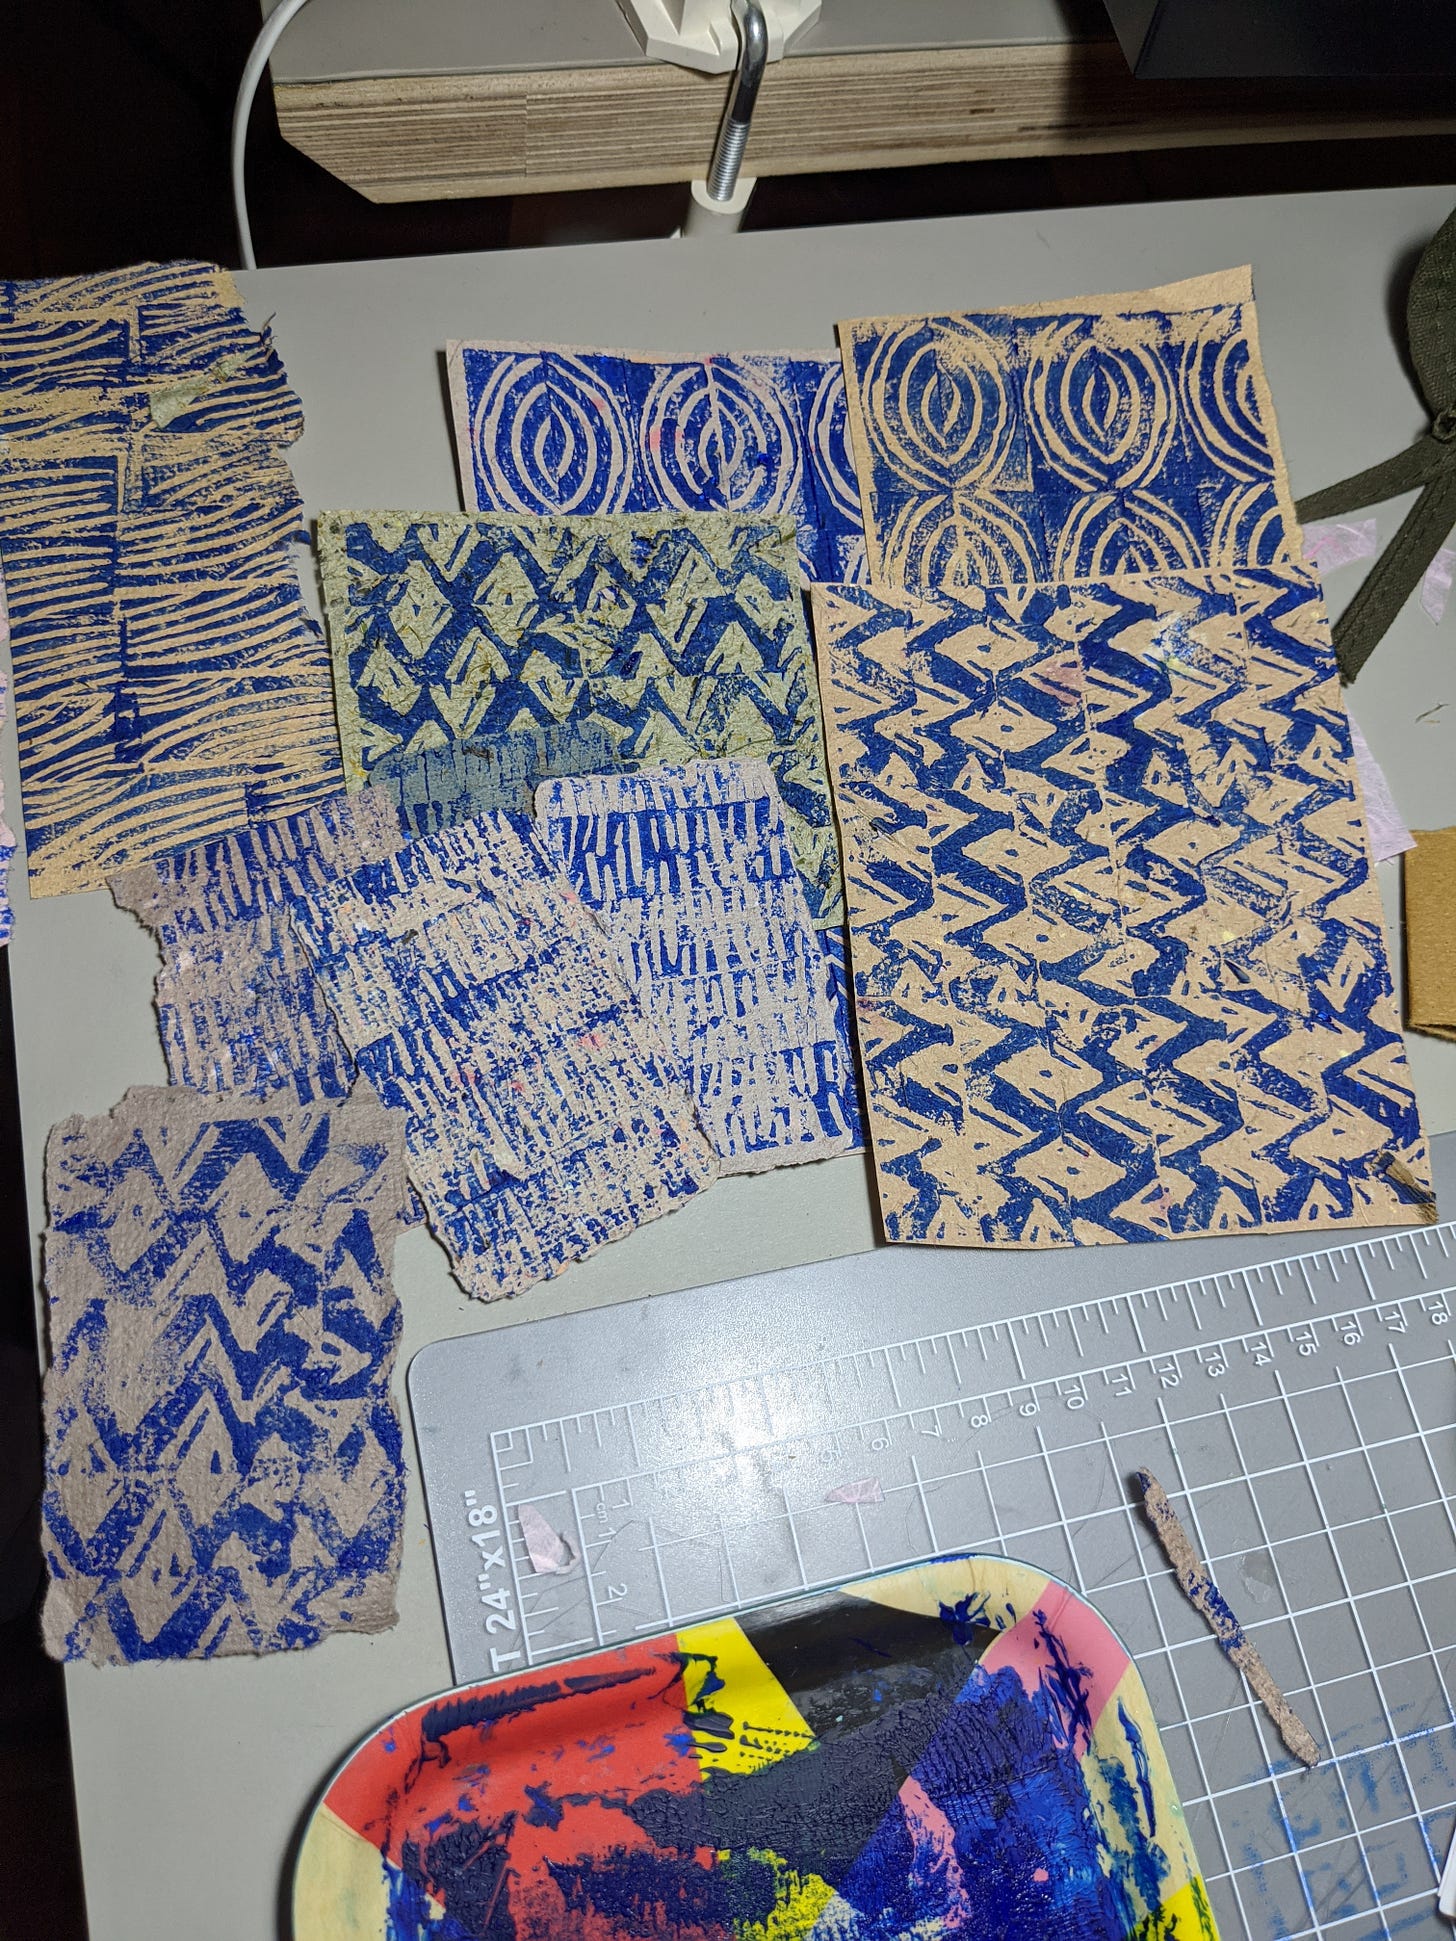
FYI: To create and define patterns in photoshop, I scan my printmaking pattern work, clean up edges, and then use the “define pattern” preset.
Ta-da!


