

Matisse Inspired Blue Botanical Monoprints
Matisse Inspired Blue Botanical Monoprints
Using wax or palette paper, paint, paper, and a cut-out.

Whoa, it’s 2021! And we are back in March, again.
I totally left this newsletter for too long, but have no fear. I’ve got some ideas on how to get back into the swing of it.
I’m still using so many DIY printing techniques in my own mixed media works on paper at-home. So, I’m going to start showing those mixed-media approaches here in the newsletter.
So yes, this newsletter will still printmaking inspired but kind of with a twist. I don’t like following rules anyway. I never do anything exactly how one should.
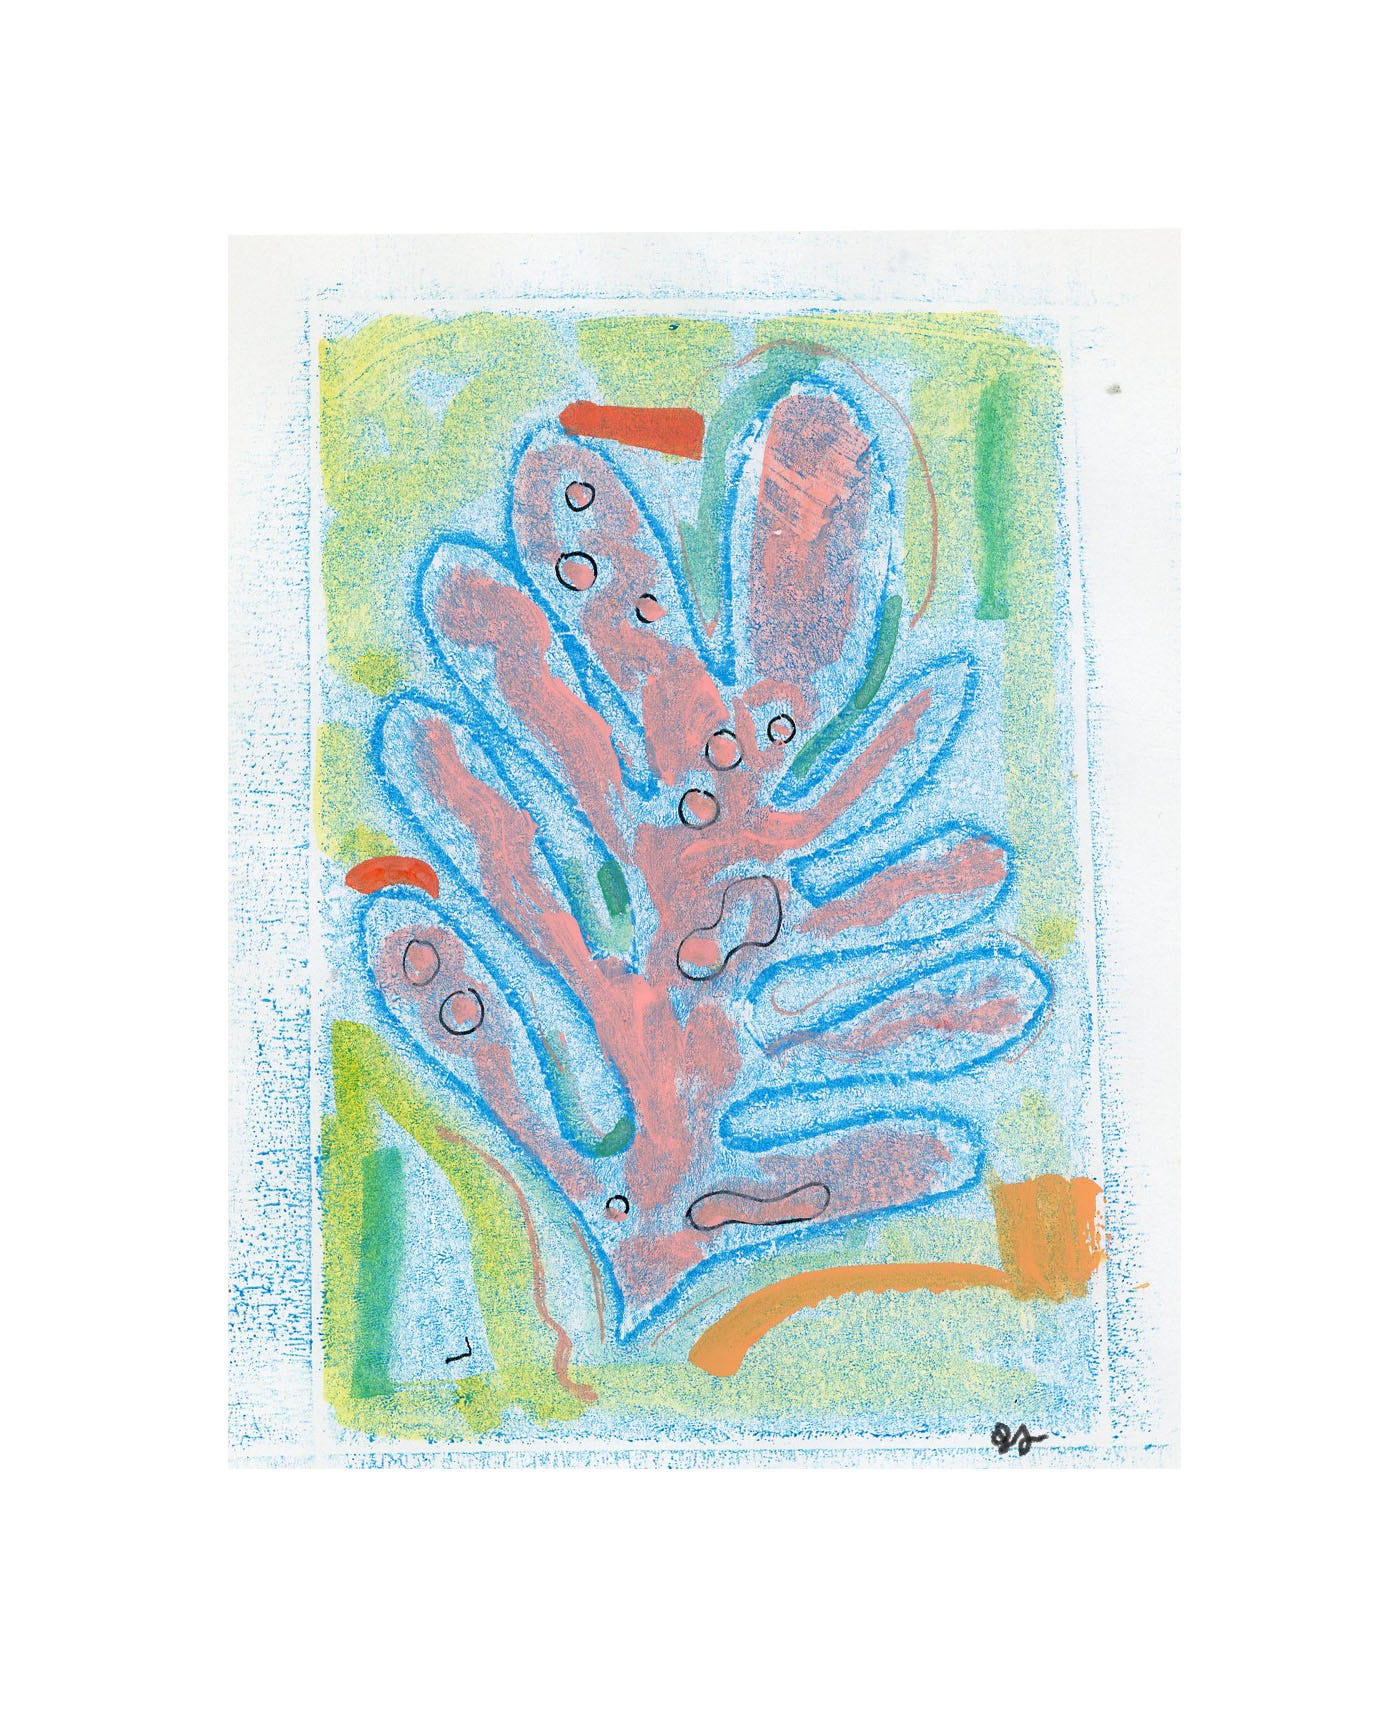
My first idea to share is how you can make monotypes/monoprints at home without a press. I call them Matisse inspired because I started with very Matisse cut-outs like shape I made.
A monotype or monoprint is basically printmaking that is unique to one or a few prints, with a more painterly approach. It’s not the same kind of print you can do a huge run of with say, carving a block or silk-screening.
The Monotype Guild of New England defines monotypes as the following:
“The terms monotype and monoprint represent two distinct processes used to create unique, one-of-a-kind prints.
A unique print is a one-of-a-kind transfer of an inked or painted image on a surface/substrate to paper or another receiving surface, that cannot be exactly duplicated.
A MONOTYPE is a painting/drawing/inking on a surface/substrate that is transferred to paper or another receiving surface. A monotype is not repeatable as it allows only one pull of the original image elements, perhaps followed by a ghost print.
A MONOPRINT contains some lines or images that can be repeated from one impression to the next, such as etched lines, a linocut, or a lithograph, however, the artist also varies the inking, composition, and other elements to create a print that is not repeatable.”
For some range, here is a fascinating modern monotype from artist Nicole Eisenman to show its place in contemporary fine art.
How to Matisse Inspired Blue Botanical Monoprints:
Supplies:
You need a wax paper or palette paper to print from as your “plate.” You can also use hard plastic or some kind of surface that can be inked like plexiglass.
You can use any kind of paint or printing inks but I find that the best for staying wet longer are the Golden Open acrylics. You can also use Akua non-toxic printmaking inks which are lovely and stay wet on your surface but clean up unlike the traditional oil inks in a printmaking studio. You can also buy this Golden slow drying medium that extends the life of your other acrylic paint. Oil-based paints and inks stay wet but of course, toxic fumes at home no way!
For paper, you really can use anything. I tore this out of a
You’ll want a brayer
You’ll want another surface (wax paper etc) to roll out your paint onto your brayer
You’ll want a stencil/cut-out that you create out of paper or cardboard.
Tape to make registration marks aka to make sure you’re printing in the right area.
You’ll want some tape to hold it down.
You’ll need something to press the paper like a barren, a spoon, or another household object..
Steps
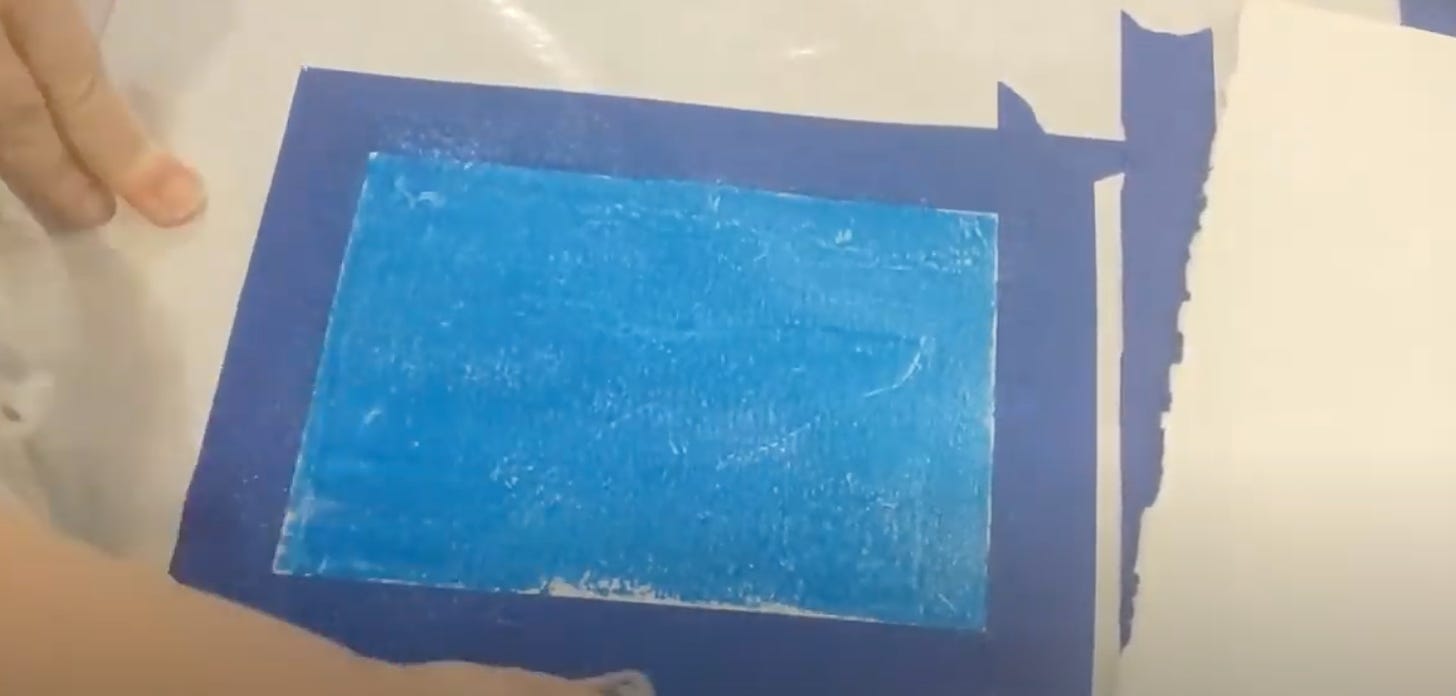
Take a piece of your wax or palette paper and place it on your surface. Next use tape to create a square or shape on it where the ink will go.

Roll out your ink on another surface.
Roll the ink over your square or shape so that it’s covered in ink.
With paper or cardboard, create a shape. Cut it out.
Place that shape over the inked surface.

Place another piece of paper over your and rub with a barren of the back of a spoon.
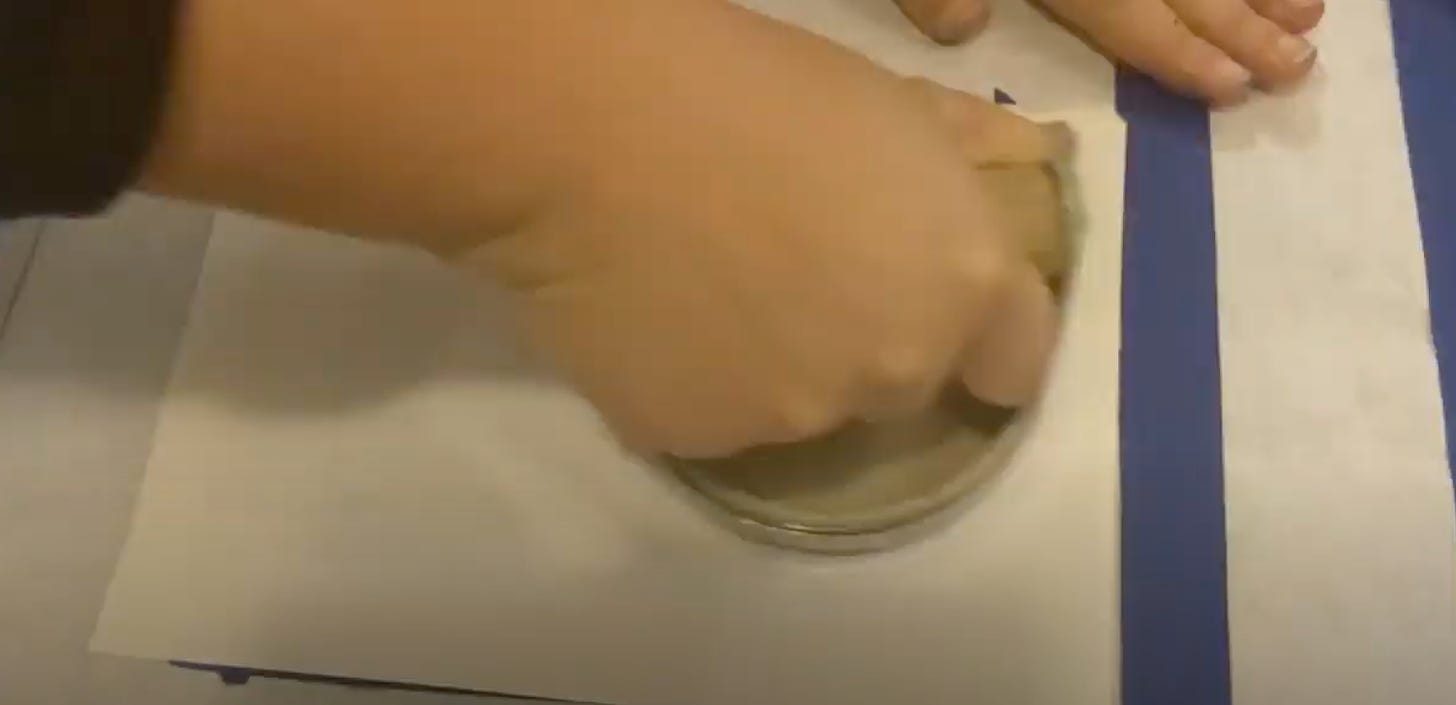
Lift your paper up and ta-da! Your first monoprint. Now, if you remove the stamp you can repeat again and get a “ghost” print.
Now if you’re like me, you may use these monoprints as a basis for more art. I painted and drew on mine to make them even more one-of-a-kind.
You can also prepare another “plate” with different shapes and print it on your paper again. That will create a collage of colors. This technique is endlessly tweaked.


